
How to Create Your Own Game Like Dobble With Custom Photos
You can build a Dobble-style matching game with your own photos. Compare free generators, home printing, and professional production to find what actually fits.
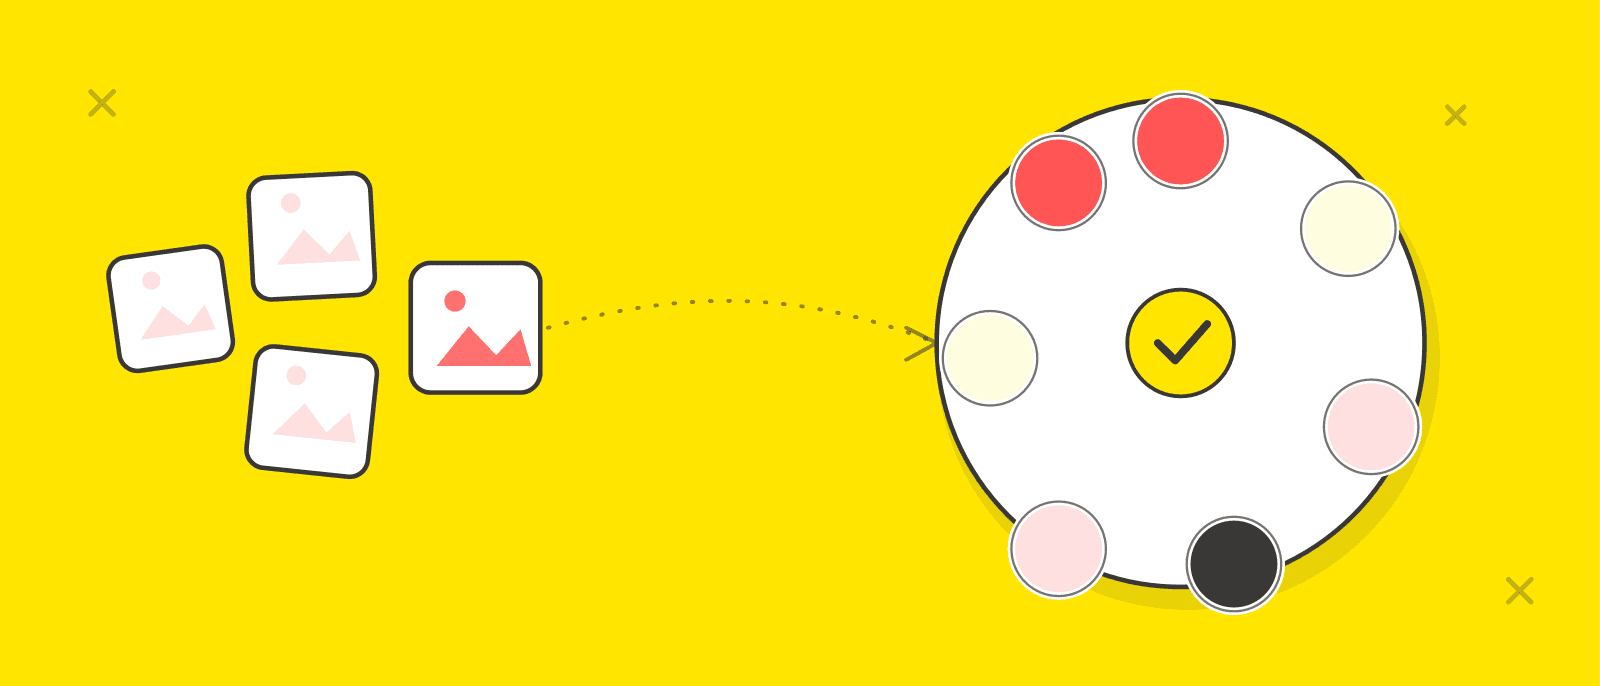
You can build a Dobble-style matching game with your own photos, and there's no single "correct" way to do it. Free browser-based generators can turn a folder of images into a print-ready deck in minutes. A script can do the same if you're comfortable with a bit of setup. Printing it yourself at home works, with some real trade-offs in finish and durability. Or you can hand the whole thing — layout, printing, cutting — to a company that does it professionally. Which one is right depends less on your creativity and more on how many copies you need, how much time you have, and how much the finished product needs to hold up.
This guide walks through all four routes honestly, including where each one breaks down, so you can pick the one that actually fits what you're trying to make.
What Does "Making Your Own Game Like Dobble" Actually Mean?
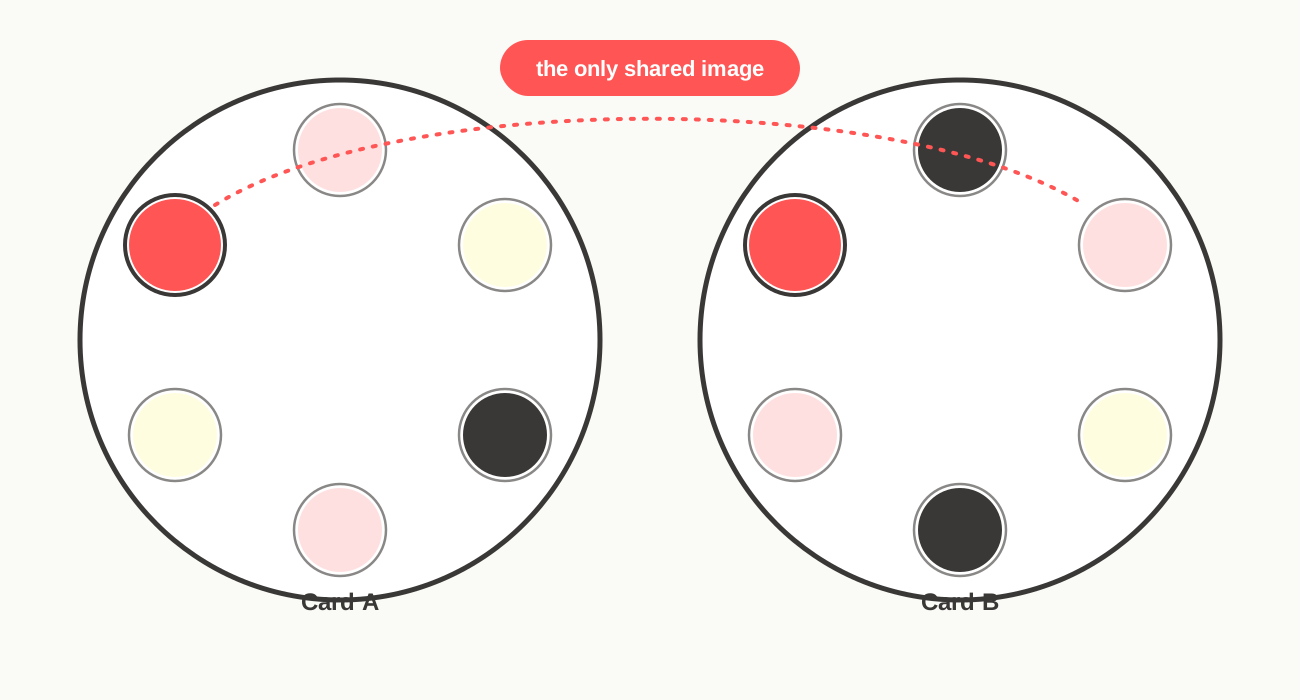
Dobble — the name used in Europe and most of the world, sold as Spot It! in the US — is a visual matching card game built on a specific mathematical structure: every card carries several symbols, and any two cards in the deck share exactly one symbol in common, always. That guarantee isn't hand-arranged. It comes from a branch of geometry called finite projective planes, which is also why decks built this way only come in certain fixed sizes (57 cards being the full mathematical structure behind the commercial game). We've written the full math behind it separately if you want the mechanics in detail — this guide assumes you just want to build a working deck, not derive one from scratch.
"Making your own" version of this game means replacing the abstract symbols with your own images — team headshots, wedding guest photos, product shots, whatever you want people to recognize and call out — while keeping the one-match structure intact. Worth being precise about one thing: PairPops, and every tool in this guide, makes an independent matching game inspired by that same fast visual-matching mechanic. None of them are a customized version of the actual Dobble or Spot It! product, and none are affiliated with, licensed by, or endorsed by the companies that make them.
What You Need Before You Start
Every method below needs the same three inputs. Get these right first and the rest is mostly execution.
Your image set
You need a defined number of images before you start — not "about 50," an exact number, because the math only works at specific deck sizes. A 7-card deck needs 7 images, a 31-card deck needs 31, a 57-card deck needs 57. Decide on a deck size before picking photos, not after.
Image quality and cropping
Every generator and printer wants roughly the same thing: square or near-square images, the subject centered and filling most of the frame, and enough resolution that it doesn't pixelate at the final print size. For a typical playing-card-sized disc (around 2.5–3 inches across), standard print guidance calls for 300 DPI at final size — in practice that means source images somewhere around 750×750 pixels or larger before you crop in. Phone photos from the last few years almost always clear that bar; anything pulled from a website or an old screenshot usually won't.
How many images/symbols you may need
Deck sizes built this way aren't arbitrary — they follow the n² + n + 1 structure covered in the math article, and only work out to a whole number of cards at specific values of n. Worth being precise about what "57" actually refers to: it's the size of the complete mathematical structure. The commercial Dobble/Spot It! game itself doesn't even use all 57 — it ships 55 cards, with two left out for packaging (the one-match property still holds for the remaining 55). The free tools in this guide default to three sizes, confirmed directly from their own product pages:
- 13 cards, 4 images each — the free/entry tier offered by at least one generator we checked; good for testing a workflow before committing more photos
- 31 cards, 6 images each — a common mid-size option
- 57 cards, 8 images each — the full mathematical structure, and the size most custom matching games are built around
Smaller sizes (7 cards, 3 images each, is the mathematical minimum) exist too — it's the example used in the math article's worked walkthrough — but isn't something we found offered as a standard preset in the free tools below; it mainly matters if you're building the layout yourself. Bigger decks need more source images but don't need more effort per image — the generator or algorithm handles the layout regardless of size.
Round vs. square cards / print considerations
Round cards are the format most people associate with this style of visual matching game, while square cards are typically easier to cut cleanly at home. A circle punch or die-cut tool handles a clean circle far better than scissors — an uneven edge is one of the first things people notice when they pick up a hand-cut round card. Square cards are more forgiving for a home paper cutter, since it only has to manage straight lines. If you're printing at home, square is the more forgiving choice; if you're having cards professionally produced, round is usually available as a standard option.
Method 1: Use a Free or DIY Generator
Several free web tools exist specifically to turn a folder of your own images into a Dobble-style deck, and they handle the projective-plane math for you.
CustomMatchDecks is a browser-based option that lets you upload photos directly, includes an AI background-removal step, and outputs a print-ready PDF and SVG — no account required for its free 13-card tier, with 31-card and 57-card decks available as paid tiers. It's the most polished of the free options for someone who just wants to drag in a folder of photos and get a deck out the other end.
For a more code-based route, open-source generators on GitHub take a folder of labeled images and output a print-ready PDF using the same underlying algorithm, with more control over layout and image size if you're comfortable running a script. A Google Slides and Apps Script method is also widely used: you upload images to Google Drive, run a short script, and the deck gets laid out as slides you can print directly — no software installation needed beyond a Google account.
Strengths: free or low-cost, fast, handles the math correctly, no design skill required.
Weaknesses: output quality varies by tool — some produce a clean PDF ready for a print shop, others assume you'll print on a home printer and cut by hand. Background removal (when included) isn't always perfect on busy photos. The tools we checked top out at 57 images and don't offer physical printing themselves — you still have to print and cut the result yourself.
Output format: almost always a print-ready PDF or a set of slides, sized for either standard printer paper or specific card templates.
Method 2: Build the Cards Yourself
If you want more layout control than a generator gives you, or you're building a very small deck (7 or 13 cards) where doing it by hand is actually faster than learning a tool, a design app works too.
Canva or a similar drag-and-drop design tool can lay out a small deck manually — you're placing images into circular frames on a template, one card at a time. This only makes sense for small decks; manually verifying that every pair of cards shares exactly one image becomes error-prone fast once you're past 13–15 cards, because the number of pairs to check grows much faster than the number of cards.
PowerPoint or Google Slides work the same way for very small decks, and have the advantage of being something most people already have open. For anything larger, use one of the generators from Method 1 instead — they guarantee the math is correct, which manual layout can't.
Writing your own script (Python is the most common choice, since finite-field libraries already exist for it) is a real option if you want a deck size or image count the existing generators don't offer, or you want to integrate the output into something else. This is the most flexible method and the most technical one — it assumes comfort with basic programming.
Method 3: Print the Game at Home
Whichever method produces your layout, printing it yourself is the cheapest way to get a physical deck.
Printer and paper: A standard inkjet or laser printer works. Print on cardstock (roughly 65–110 lb, or 176–300 gsm) rather than regular paper — anything lighter feels flimsy and shows ink bleed-through when held up to light.
Cutting: For square cards, a rotary paper cutter gives cleaner, straighter edges than scissors. For round cards, a circle punch is worth the small cost — scissors rarely produce a clean circle, and an uneven edge is the first thing people notice when they pick up a card.
Lamination: If you want the deck to survive more than a few play sessions, laminate before cutting, not after — cutting through the laminate after sealing leaves a protective border around each card's edge, which stops the layers from peeling apart over time. Cutting first and laminating after leaves exposed paper edges that curl and separate with handling.
Alignment: Print a single test page first and check that images land inside the card outlines before printing the full deck — home printers vary slightly in margin handling, and a small drift compounds across a multi-page deck.
Ink usage: A full-color deck can use considerably more ink than a typical document — a 57-card deck means printing 57 pages, each with 8 full-color images. Test-printing a page first and checking cartridge levels before starting the full run is sensible.
Durability and time investment: Unlaminated cardstock holds up to light, occasional use. For a deck that gets played repeatedly — a game night regular, a classroom set, a desk toy — laminating adds real durability but also adds time: printing, laminating, and hand-cutting a 57-card deck realistically takes a couple of hours from start to finish, not counting photo prep.
Method 4: Have a Custom Game Professionally Produced
The alternative to all three DIY routes is having someone else handle layout, printing, and cutting. This is where PairPops fits in.
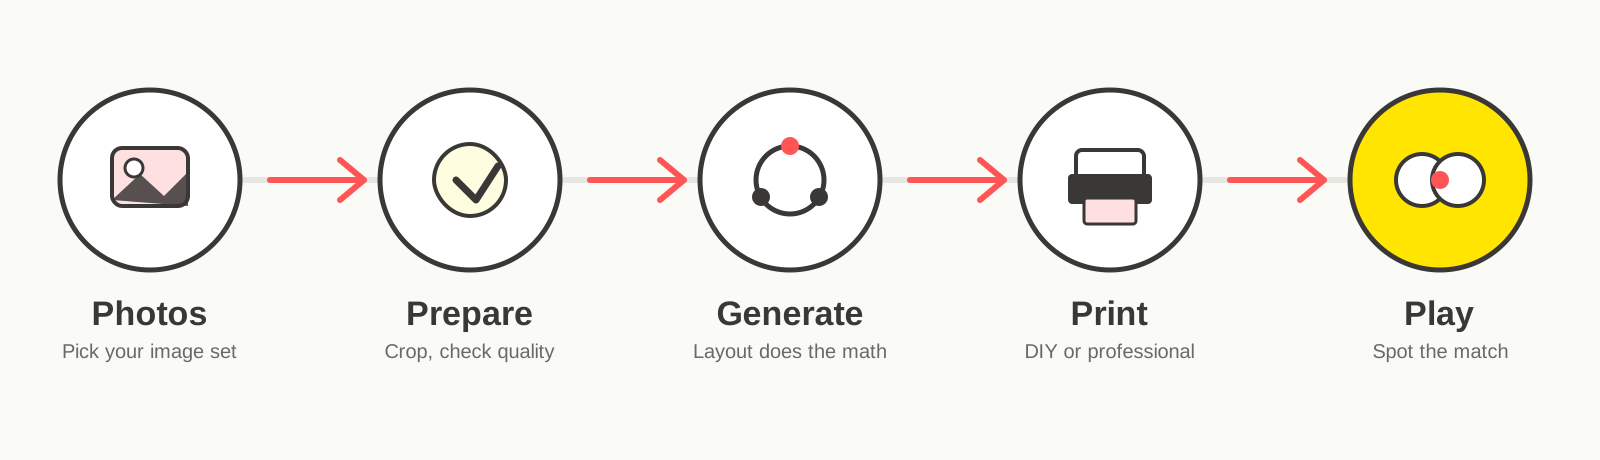
The general shape is similar across professional providers: you send your photos, a layout is generated (the one-match structure is handled automatically, the same way the free generators handle it — the difference is what happens after the layout is generated), and a finished, pre-cut set ships to you. Exact steps, materials, and turnaround vary by provider, so check specifics before assuming any one workflow.
With PairPops specifically: you upload your photos and get a free digital mockup back within 1 business day, showing your actual photos arranged on the discs before anything is printed. Nothing goes to production without your sign-off, and once you approve it, the finished set ships in 5–7 business days. See the full process end to end if you want the details before uploading anything.
What this route trades away is the DIY element itself: you're not cutting anything, you're not troubleshooting printer alignment, and you're not deciding on lamination. What it adds is consistency (every card in every copy is cut and finished identically, which hand-cutting can't guarantee) and the ability to order multiple identical sets without redoing the manual work each time — genuinely useful if you need copies for several tables at an event rather than one deck for your own shelf.
Want to see what that actually looks like before you decide anything? Skip the layout, printing, and cutting — get a free mockup and see your own photos laid out on the disc format before committing to anything.
DIY vs. Professional Production
Both paths get you to a working deck. The honest differences are in time, finish, and how well the process holds up if you need more than one copy.
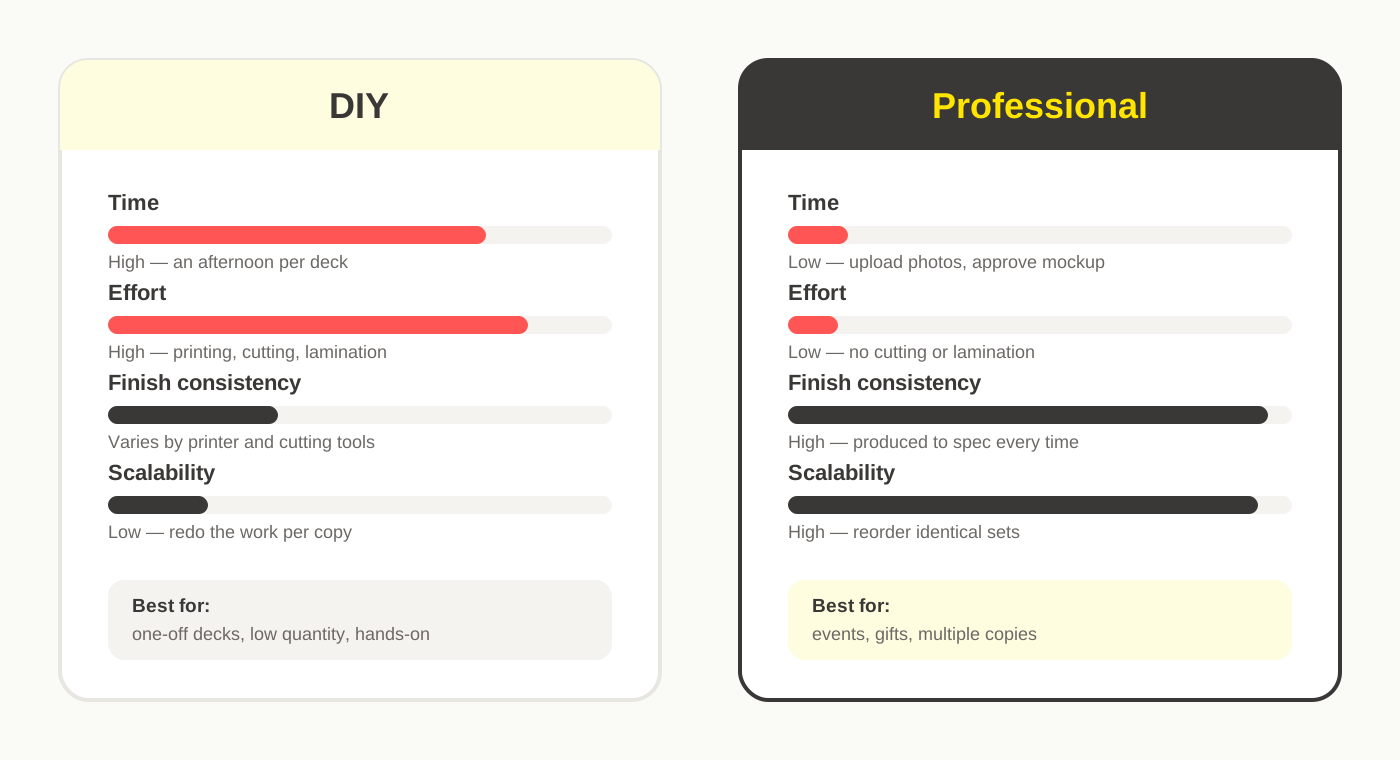
| Method | Time investment | Difficulty | Print/cut quality | Durability | Best for | Scales well? |
|---|---|---|---|---|---|---|
| Free generator + home printing | 1–3 hours (photo prep + printing + cutting) | Low to moderate | Depends entirely on your printer and cutting tools | Low unless laminated | One-off, low-stakes, or testing the idea | No — redo the physical work per copy |
| Manual build (Canva/Slides) | 1–2 hours, small decks only | Low, but error-prone above ~13 cards | Same as above, plus manual-layout risk | Low unless laminated | Very small decks (7–13 cards) | No |
| Custom script | Setup time varies; fast to re-run once built | High — requires coding comfort | Same printing constraints as any DIY route | Low unless laminated | Non-standard deck sizes, technical users | Somewhat — script is reusable, printing isn't |
| Professional production | Minutes of your time (upload + approve mockup) | None | Consistent, produced to spec | Higher — built for repeated handling | Gifts, events, multiple copies, anything that needs to hold up | Yes — reorder identical sets without redoing manual work |
Costs and turnaround vary enough by provider and print run that a single number here wouldn't be honest — check current pricing directly rather than relying on a figure that may be out of date by the time you read this.
How to Choose Photos That Actually Work
This matters more than which method you use — a generator or professional printer can only work with what you give it.
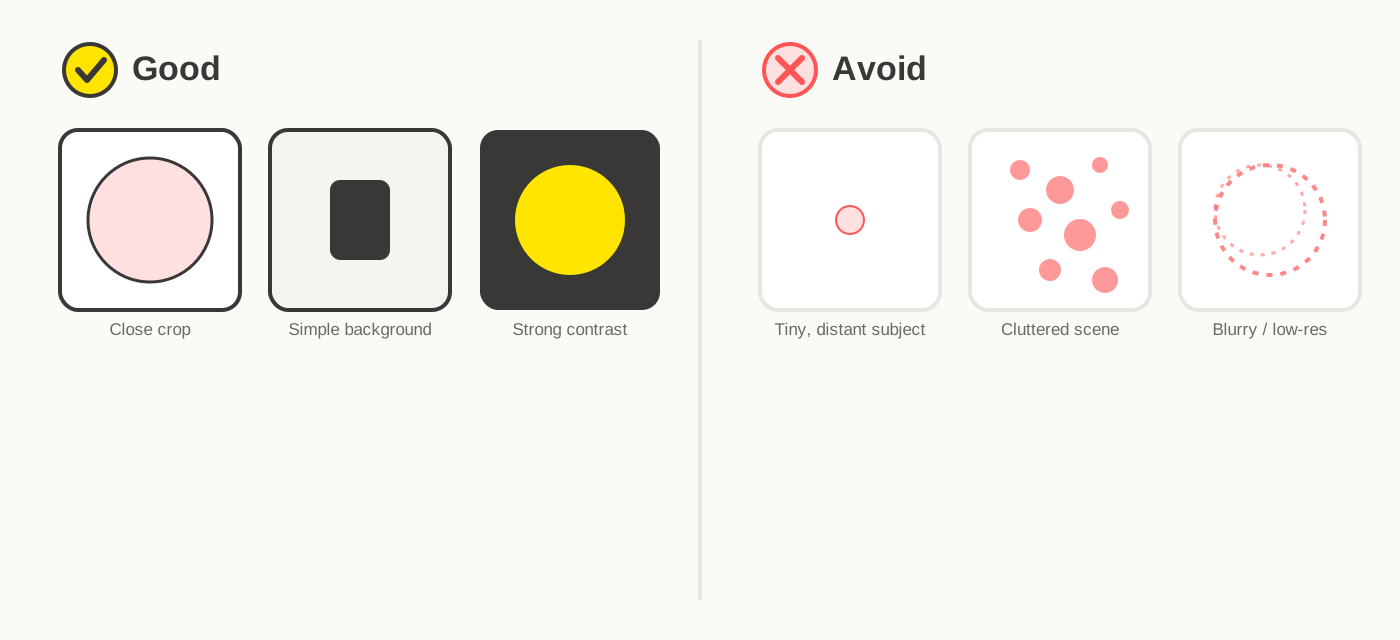
- Close crops. The subject should fill most of the frame. A tiny face in a wide group photo won't read at card size.
- Simple backgrounds. Busy or cluttered backgrounds compete with the subject and make the image harder to recognize at a glance, which is the entire point of the game.
- Recognizable subjects. If the point is "spot the shared face" or "spot the shared logo," pick images where that subject is unambiguous — not a side profile, not partially obscured.
- Contrast. An image that's mostly one flat color, or matches the card background, is hard to distinguish from across a table.
- Avoid tiny details. Fine text, small logos, or intricate patterns disappear at print size. If you can't identify the image at arm's length on your screen, it won't work printed at 2–3 inches.
- Faces, logos, and products all work — the mechanic doesn't care what the image is, only whether it's clear and distinct.
- Consistency. A deck where every image is a tightly cropped headshot reads faster than one mixing headshots, full-body shots, and object photos. Pick one framing style and stick to it across the set.
Custom Matching Game Photo Preparation Checklist
A quick pass before you upload or print — run every image through this list:
- Subject is clearly visible and identifiable at a glance
- Close crop — the subject fills most of the frame
- Simple, uncluttered background
- Sufficient resolution for your print size (roughly 750×750px or larger for a standard card)
- Consistent framing style across the whole set
- No small text or fine detail that won't survive shrinking to card size
- No near-duplicate images that could be mistaken for each other during play
- Final image count confirmed against your chosen deck size before generating the layout
Example: Turning 57 Photos Into a Matching Game
Hypothetical example, for illustration only — not a real customer order.
Say a company wants a deck for a 40-person team — the kind of thing that shows up as a team building card game at an offsite or onboarding session. They collect one headshot per employee — 40 photos — and round up to the next valid deck size by adding a handful of company logo variants and object shots (the office plant, the coffee machine, a product icon) to reach 57. Each photo gets cropped to a consistent square, centered on the face or object, with a plain background. That 57-image set feeds into the layout — whether through a free generator, a script, or a professional provider — and comes out the other side as 57 cards, each showing 8 of those images, with the one-match property intact automatically. Nobody manually checks that any two cards share exactly one image; the projective-plane structure guarantees it.
Common Mistakes
- Too many visually similar images. Five nearly identical headshots of people with similar hair and clothing slow the game down — the whole point is fast recognition.
- Low-resolution photos. An image that looked fine on a phone screen can pixelate badly once enlarged and printed. Check actual pixel dimensions, not just how it looks on screen.
- Inconsistent crops. Mixing tight headshots with wide shots makes some cards feel cluttered and others feel empty.
- Poor print sizing. Printing at the wrong scale — too small to see clearly, or too large for the card template — undermines even a well-chosen image set.
- Incorrect mathematical layout. This is the one mistake that breaks the game outright, not just its polish: if the deck size doesn't match a valid projective-plane order, some card pairs will share zero or two images instead of exactly one. Always use a generator, script, or provider that guarantees the structure — never hand-place images into a deck size that "seemed close enough."
- Trying to manually arrange matches. Beyond about a dozen cards, doing this by hand without the underlying math is essentially impossible to get right — the number of card pairs grows much faster than the number of cards.
- Weak contrast. Images that blend into the card background or into each other slow down play and frustrate people trying to spot the match.
- Cutting and lamination issues. Cutting before laminating, using scissors for round cards, or skipping a test print before running the full deck are the most common home-production regrets.
Which Option Is Right for You?
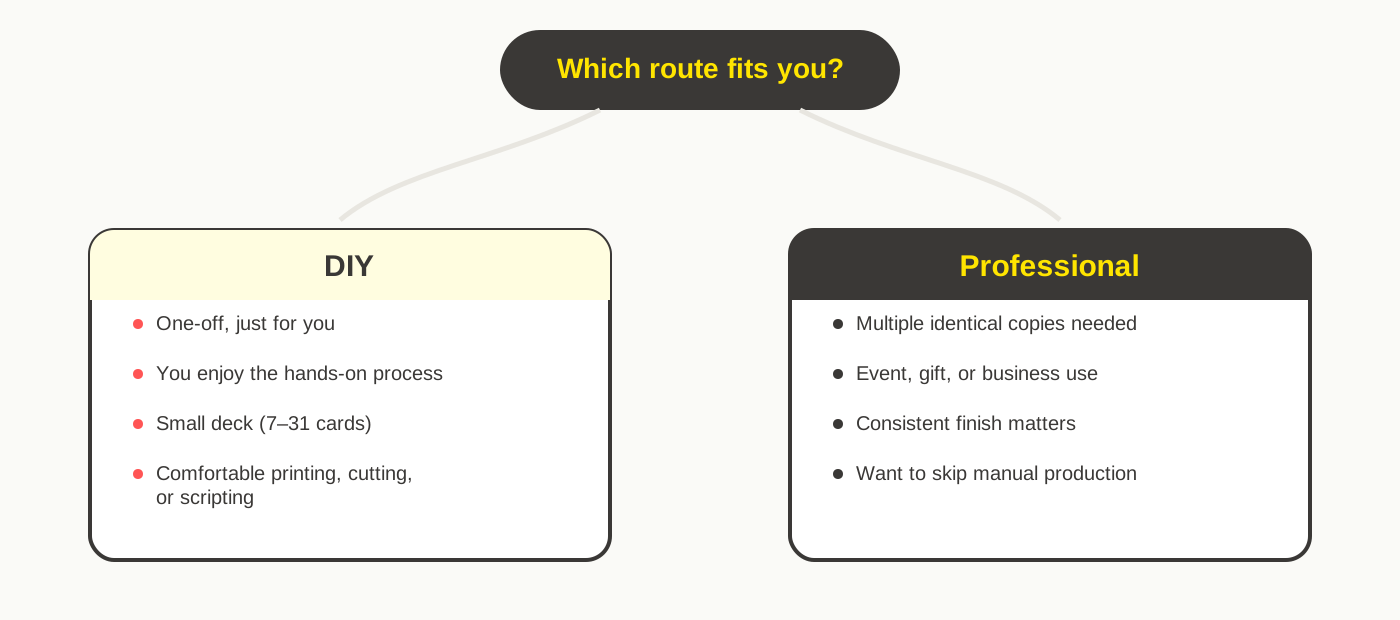
DIY makes sense if: you're making one deck for yourself or a small group, you don't mind spending an afternoon on it, you're comfortable with basic printing and cutting (or coding, for the script route), and durability isn't a priority.
Professional production makes sense if: you need more than one identical copy, the deck is for an event, gift, or business use where finish matters, you'd rather spend five minutes uploading photos than a few hours cutting cards, or you want something durable enough to survive repeated handling.
Neither is the "correct" choice in the abstract — it depends entirely on what you're actually trying to make and who it's for.
Frequently Asked Questions
Can I make a game like Dobble with my own photos?
Yes. Free generators, DIY scripts, and professional providers can all build a working deck using your own images instead of the original game's symbols, as long as the deck size follows the valid mathematical structure (7, 13, 31, or 57 cards being the common sizes).
How many images do I need?
It depends on the deck size you choose, not on how many you'd like to use. Free tools commonly offer 13-, 31-, and 57-image tiers; 57 is the full mathematical structure, though the commercial Dobble/Spot It! game itself only ships 55 cards. PairPops' own custom games are always built on the full 57-image structure.
Can I print it at home?
Yes, with a standard printer and cardstock. Expect to spend time on cutting and, if you want the cards to last, lamination — budget an afternoon for a full-size deck.
Can I use faces instead of symbols?
Yes. The one-match mathematical structure doesn't care what the images represent — faces, logos, products, and objects all work exactly the same way as abstract symbols.
Can companies use logos, products, or employee photos?
Yes. Mixing employee headshots with company logos or product shots is a common approach for a team or corporate version of the game, and works the same as any other image set.
Is PairPops affiliated with Dobble?
No. PairPops is an independent custom matching-game brand and is not affiliated with or endorsed by Dobble or Spot It!.
Whichever route you choose, the fastest way to see what your own photos would actually look like on a finished set is to try it. Get a free mockup and see the layout before deciding anything — no commitment required.